Switching gears here!
Time to write about something that’s near to my heart in a very different way; a newfound passion.
You guessed it! It’s DIY (“Do-it-yourself” for the shorthand-inclined haha). Over the past few months, I’ve really learned a LOT when it comes to taking pieces of furniture that nobody else sees beauty in, and restoring them to their former glory – or what I’d like to think…even better than they ever were 😉
So this post is dedicated to my most recent finished piece – an end table that has been in my friend’s family for many, many years. Sturdy lil’ fella, but really needed an update! My friend has seen some of my ‘before & afters’ of different items I’ve restored, and loved them – so she contacted me. The rest is history 🙂
Before I get into the DIY part of this blog, please know that I am in no way claiming that this is the right way, the only way, or the way it should be done. This is simply a way that it CAN be done, and the current way I do things. I’m sure there are a million easier/better ways to achieve the result I have, but again…I do this as it is a passion of mine – and I don’t mind the time it takes me to complete. And for those who are curious about said time….it took me about 15 hours to complete – including the huge slight mishap I had – which I’ll touch on later… 😉
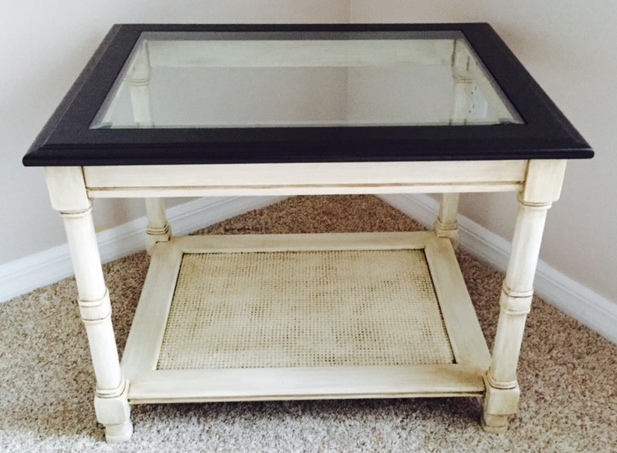
So. Without further ado. Put your chemical grade gloves on. Here is what I started with. (Glass top insert not shown in the before photos)
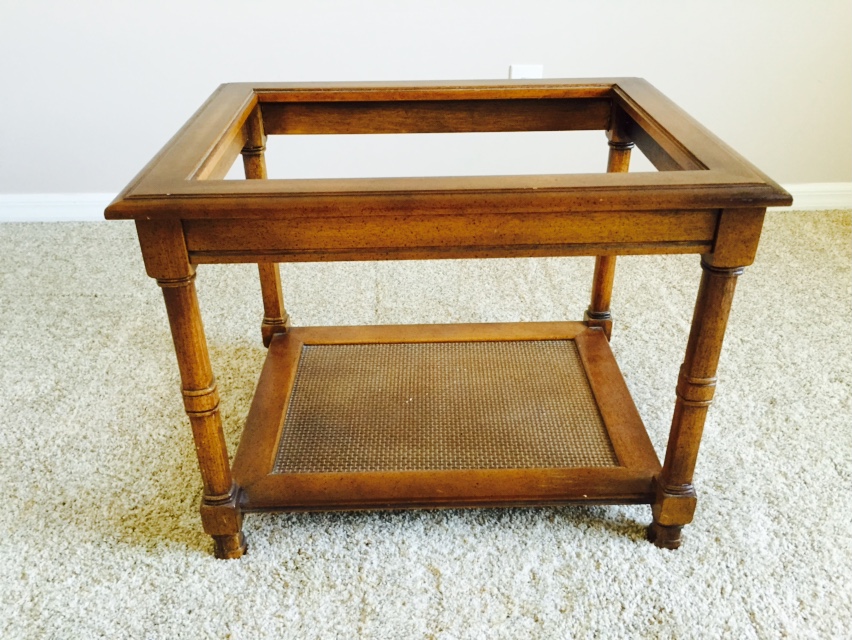

Step 1. Get that old hideous varnish OFF. Now here is where my mishap happened. My Dad (who I accredit any and all knowledge of my handiwork to… #shamelessfamilyloveplug ) told me he had a bucket of stain/paint stripper in the garage. However, I failed to ask him when he actually purchased it. Most important lesson I’ve learned from this project….NEVER use a product that has exceeded it’s shelf life, especially if it’s close to a decade old. Ugh. 😉
I’m not one to take things slow when it comes to work around the house. I’m all in, every time. Go big or go home. Usually this is a fantastic mindset for finishing my projects in an extremely timely manner. Unfortunately, this means I don’t normally “test an area before applying in entirety”, as directed. Double ugh. After scraping, melting, polishing, buffing, saturating and pleading with the old chemical to remove it….I went to Home Depot and purchased a new product. One that wasn’t 7 years old. In fact, I think he was just born. 😉
Behold! CitriStrip. My new go-to for DIY pieces that require paint, stain or any other varnish you can think of – to come off. For this project, I purchased the spray can that I had read about in other blogs. It honestly completely exceeded my expectations for the job, and I’m now a client for life. Except moving forward, I will be using the CitriStrip that you apply with a brush, as I felt the spraying aspect left me with a lot of waste and overspray. Live and learn people! That’s what I do!

The directions indicate that you should leave the stripping gel on for 60 minutes to 5 hours, depending on how thick the current varnish is. I was actually able to start stripping this particular piece after just 10 MINUTES! Patience is not a virtue of mine 😉 Luckily, all of the old varnish came off so easily with just the help of a 2″ putty knife engineered for stripping (again, Home Depot for the win – a whopping $4), and both a medium and small sized wire scraping brushes. Now, keep in mind, your putty knives will clean up after the project, but your wire brushes will not (see image below). But those bad boys keep on kickin’ project after project!
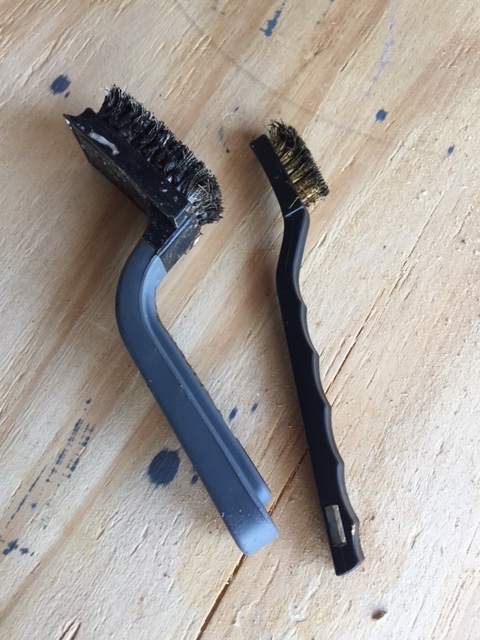
While you are *gently* scraping the old varnish off, make sure you have a container of some sort to put the disgusting globs of goo that will be coming off. I used a small box, and ended up throwing all of my other waste in there at the end of the project, wrapping everything up in a plastic bag, then dumping it into the garbage bin.

So after you get your piece stripped of it’s previous color, you’re left with a blank slate.

Step 2. SAND. This is important, as it will help remedy any imperfections that were previously in the wood. If you have gouges or massive holes in the wood – make sure you use a wood filler to correct those BEFORE sanding (and wait until dry to proceed to Step 2!). I used a 120 grit piece of sandpaper that i wrapped around my fingers which enabled me to get into the grooves. I was skeptical about using my sander on this piece as it had so many different lines to it, that I felt the sander would be too strong and round them out. When in doubt, sand it by hand.
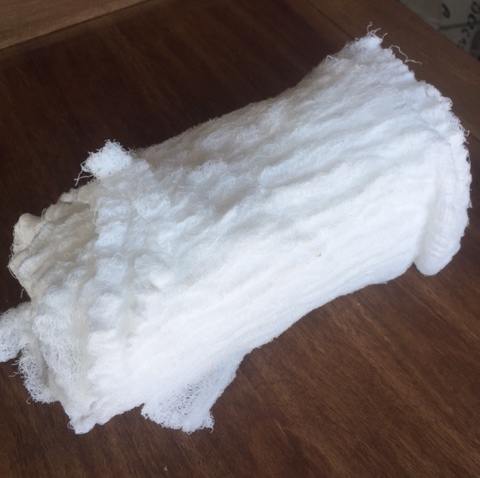
Step 3. Put those gloves back on, because this is where it gets a bit sticky (literally). Get a tack cloth and wipe your piece down furiously. Leave no speck of sawdust unturned. You want ALL of those tiny microscopic blades of wood off of your project, otherwise they will forever be a part of your furniture in the later steps, giving you a rough, bumpy finish. So invest in a package of tack cloths (basically just cheese cloths made of bees wax) and wipe down your piece. I did mine twice.
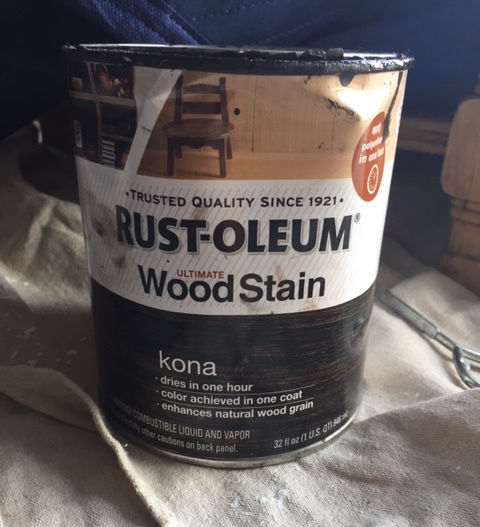
Step 4. The fun part! You can now add your own finish of choice. I went with a dark stain (Rustoleum Kona) and applied it with a foam brush. I only stained the top area in which the glass sits, and made sure to cover the bottom section in case of any drips. You can really use anything to cover what you need to protect – here I stole one of my Dad’s 5,436 many furniture pads.

I went ahead and let that dry a few hours before applying a white paint. Any paint will do, as long as you’ve completed steps 1 & 2! It adheres just fine, even without using a primer. I applied one coat of paint (normally I would do two coats, but I was going for a bit of a distressed look) with a regular bristle brush.


I let it dry overnight, and picked back up the next morning with….
Step 5 (optional): I had a small can of glaze that was leftover from a cabinet transformation that I did, so I just used that. However, cans of glaze are available for purchase, sans cabinet transformation kit 😉 I believe they come in quarts and gallons, and are around the same price as a can of paint.

Glaze is a special kind of beast. You literally have a 5 to 10 minute window to karate kid wipe on wipe off get the exact look you’re going for. If you wait too long, the overall look might appear darker than what you originally intended on. To apply, I used a foam brush and made sure I covered all parts of whatever section I was working on. I started with the legs (individually) and then worked my way from the top down. Start with smaller sections so that you don’t stress over your time constraints. As soon as you put the glaze on, you can take it off. Again, the window is small (please read the package directions for exact instructions), so make sure you work quickly on this step. To wipe off, I simply used cheesecloth. I prefer thicker sheets, but any will suffice. And make sure you have those gloves on! Glaze is way easier to remove from your skin than stain is, but it will give you a run for your scrub brush money!
The reason I opted to use the glaze for this project was because I didn’t want such a stark contrast between the top and bottom of the end table. I wanted a more county western chic look. You can see below in the “during” image that the glaze makes the white paint look “broken in” – the exact look I was going for 🙂

After I finished all the glazing, the end table looked amazing…


Step 6 is the final step in this DIY! I applied a thin coat of polyurethane using a foam brush. I didn’t want it to look ultra glossy, so I went with a satin finish to give it a layer of protection and nice subtle sheen. I used Rustoleum brand polyurethane.
Here is the finished product in it’s permanent home (with the glass top!)-


My friend absolutely adores her end table’s new look, and I’m pretty proud of it as well 🙂 Don’t be afraid to try something new! Go outside and experiment. Learn. Create things! Just use Pinterest, blogs, your mom’s antique furniture, your imagination and anything is possible!
Live with strength ❤
XO Karen


 I was browsing through facebook two weeks ago, and came across one of my
friend's photos from mountain biking here in Florida. It was a simple picture -
yet it captured my attention, and made me want to instantly become a
professional MTB girl (see? I even know the lingo!). But I figured I should get
out there and try it first before I quit my day job ;)
This past weekend, I drove to Stuart, about 50 minutes south of me to embark on
a trek in which I had no clue what I was doing. I arrived at Halpatiokee Park
and met up with my trained MTB friend who has a spare bike for me, as well as a
helmet and gloves. After a few minor adjustments to the height of my bike seat,
he proceeded to give me some basic training. All the while, I'm thinking - how
hard could this be? It's riding a bike on a trail! Little did I know...
I was browsing through facebook two weeks ago, and came across one of my
friend's photos from mountain biking here in Florida. It was a simple picture -
yet it captured my attention, and made me want to instantly become a
professional MTB girl (see? I even know the lingo!). But I figured I should get
out there and try it first before I quit my day job ;)
This past weekend, I drove to Stuart, about 50 minutes south of me to embark on
a trek in which I had no clue what I was doing. I arrived at Halpatiokee Park
and met up with my trained MTB friend who has a spare bike for me, as well as a
helmet and gloves. After a few minor adjustments to the height of my bike seat,
he proceeded to give me some basic training. All the while, I'm thinking - how
hard could this be? It's riding a bike on a trail! Little did I know...